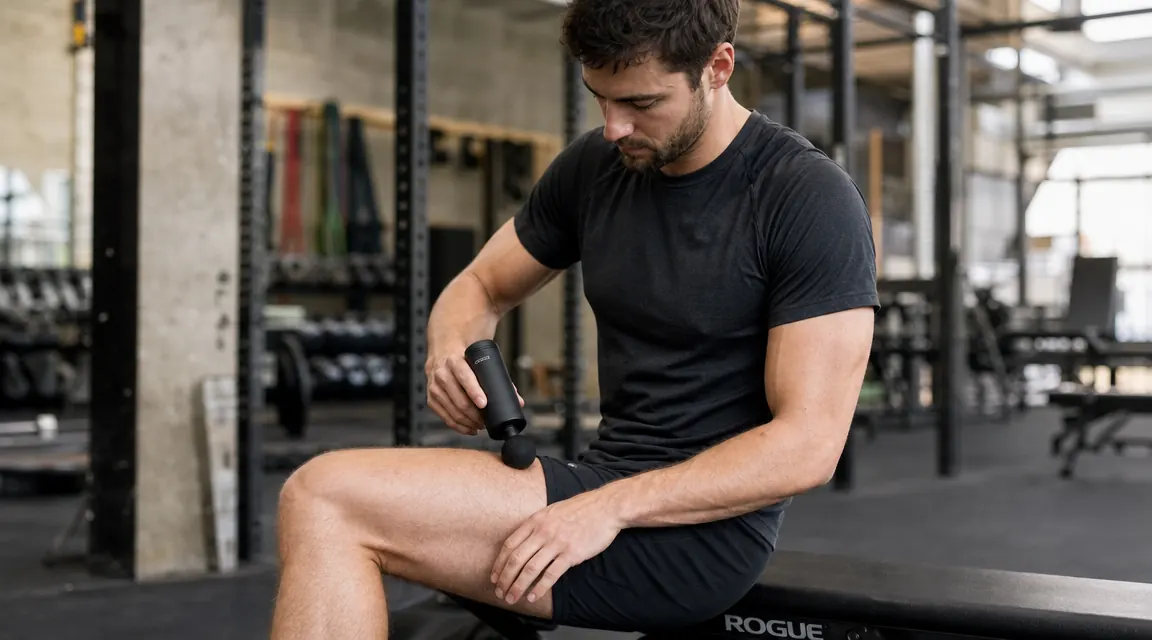
Your quads are fried from yesterday's squat session. You grab your massage gun, press the ball head into the meat of your thigh, and run it around for two minutes. Nothing changes. You put the gun down and write it off as overhyped. That is not a problem with percussion therapy. That is a protocol problem. When you use the right attachment, the right pressure, and the right duration for the specific state your muscle is in, a quality percussion massager does exactly what the research says it should: it reduces perceived soreness, improves range of motion in the warm-up window, and accelerates the flush of metabolic waste after hard training.
This guide breaks down the exact technique used by sports-medicine clinicians and athletic trainers, applied to the tool most people already own or are considering: the BOB AND BRAD Q2 Mini. It has four included attachments, three speed settings, and a stall-force rating that handles the density of major muscle groups without bogging down. The protocol below works whether you are priming muscles before lifting, flushing soreness after conditioning, or working a stubborn knot on a rest day. Let's go step by step.
Your soreness problem is a protocol problem. This is the tool the protocol was built for.
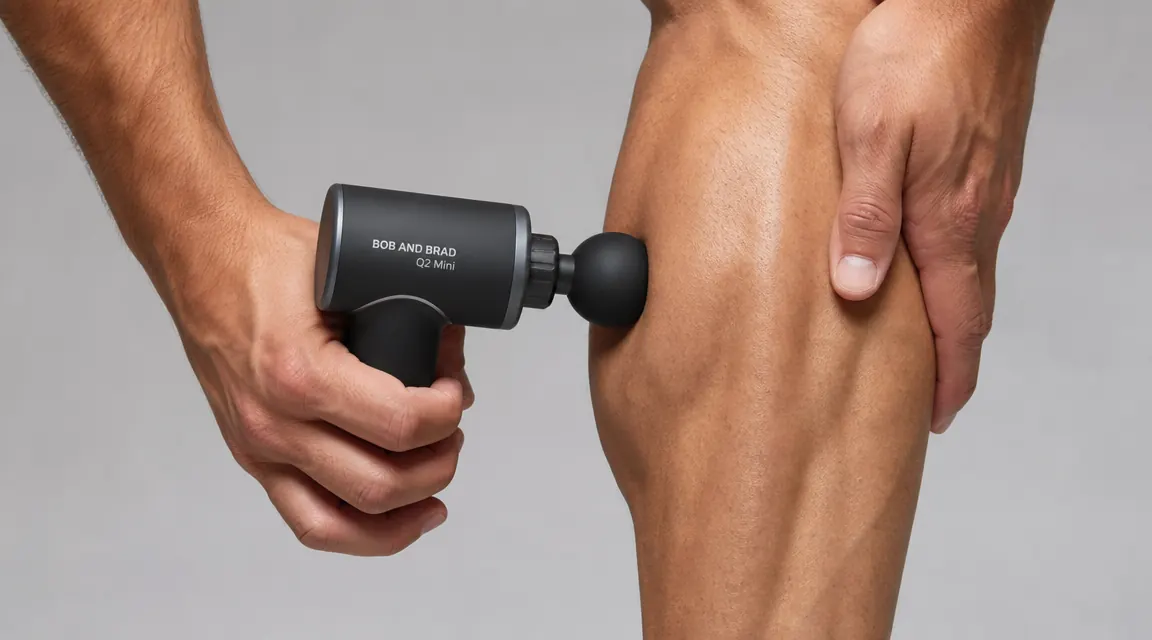
The BOB AND BRAD Q2 Mini is the compact percussion massager used throughout this guide. 4.7 stars, 15,000+ verified reviews, four attachments included. Check current price before the next session you need to recover from.
Amazon Check Today's Price on Amazon →Before You Start: Know Your Muscle State
Percussion therapy is not one-size-fits-all. The goal shifts depending on whether you are working on a muscle that is about to train, one that finished training in the last hour, or one that is 24 to 48 hours into delayed-onset muscle soreness (DOMS). Pre-workout use is about neural activation and range of motion, not deep tissue work. Post-workout use within 30 minutes of finishing is about promoting blood flow and reducing tightness before it locks in. DOMS work, the kind most people are actually trying to do, is about reducing perceived soreness and restoring movement quality. Knowing which window you are in changes your attachment choice, your pressure, and your time per site.
Step 1: Choose the Right Attachment for the Muscle
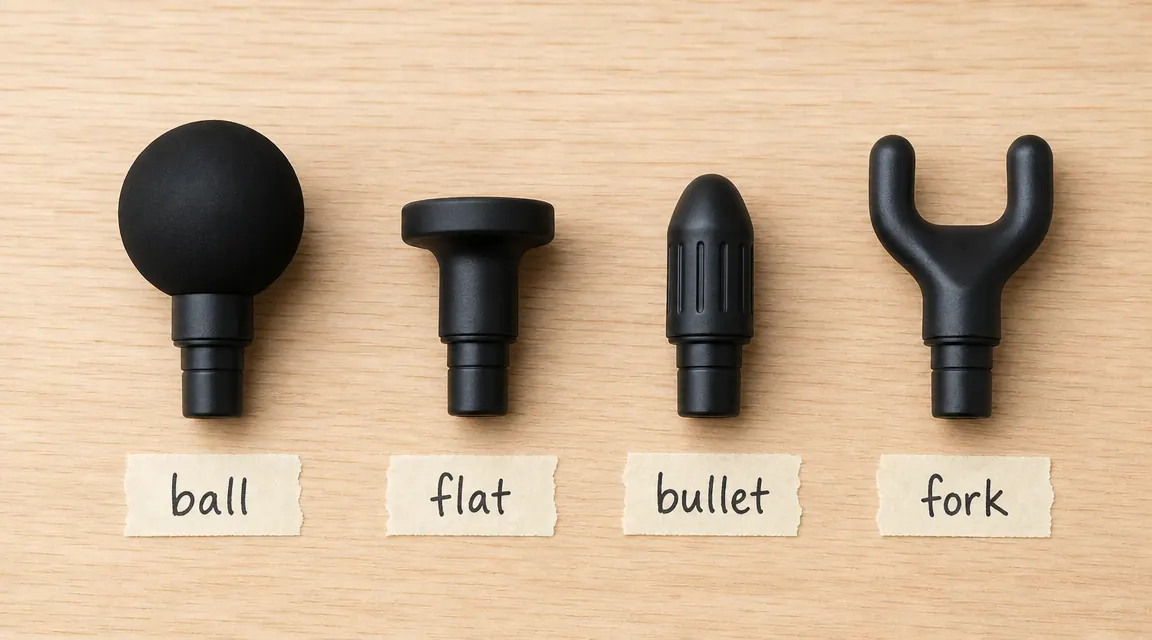
The ball head is your default for large muscle groups: quads, hamstrings, glutes, calves, and lats. The broad contact surface distributes force across a wide area, which is what you want for general soreness and DOMS work. The flat head is for dense, high-load areas like the thoracic erectors and hip flexors, where the ball head can skip rather than penetrate. The bullet or cone attachment is for trigger points and small, specific knots, typically in the upper trapezius or peroneals. Use it only once you have already loosened the surrounding tissue with the ball head. The fork attachment, shaped like two prongs, is for running along either side of the spine or the Achilles tendon, never directly on bone or spine itself.
The Q2 Mini ships with all four of these heads. For most people doing post-workout recovery, 90 percent of sessions will use only the ball and the flat head. The bullet is a specialist tool. Use it on a specific tender spot for no more than 20 to 30 seconds, then return to the ball head to flush the area.
One common mistake: athletes use the bullet head everywhere because it feels more intense. More intensity is not more effective. For DOMS work, you want broad-surface stimulation that drives blood flow and reduces neural hypersensitivity in the area. Jamming a bullet head into already-inflamed tissue creates more signal without producing the outcome you want.
Step 2: Set the Right Speed for the Right Goal
The Q2 Mini has three speed settings: low (1,800 percussions per minute), medium (2,400 ppm), and high (3,200 ppm). The number that matters for your goal is lower than most people default to. For pre-workout priming, start at low speed and move to medium after 30 seconds on a site. High speed for pre-workout activation is counterproductive; it fatigues the tissue rather than waking it up. For post-workout flushing within the first hour after training, medium speed is the ceiling. The tissue is already stressed, and high speed against acutely fatigued muscle adds mechanical stress rather than removing it. For DOMS work at 24 to 48 hours out, medium or high is appropriate because the acute inflammation window has largely passed and you are working to restore tissue quality.
A useful rule: if the muscle is guarding (you notice it tensing against the gun), you are either at too high a speed or too much pressure. Back off one level on speed, float the head instead of pressing, and let the percussion do the work without the tissue fighting back.
Step 3: Apply Correct Pressure and Movement Pattern
The single biggest technique error in percussion therapy is pressing the head straight down and holding it still. Static pressing triggers a pain-avoidance response in the muscle and does not produce the fluid dynamics that make percussive treatment effective. The correct movement pattern is slow gliding: hold the gun at roughly 90 degrees to the skin surface, apply enough pressure that you feel slight resistance without discomfort, and move the head approximately one inch per second along the length of the muscle belly. Think of it as sweeping, not stabbing.
For a muscle like the quadriceps, start at the top of the thigh near the hip flexor attachment and sweep down toward the knee, staying on the belly of the muscle and avoiding the knee joint itself. One pass takes about 6 to 8 seconds. Make three to four sweeping passes before moving to an adjacent section. For the calves, work the gastrocnemius (the full calf belly) separately from the soleus (the deeper, lower portion). The soleus is often the actual source of tightness in runners, and most people skip it entirely.
Avoid: tendons, bony landmarks (knee, elbow, ankle, hip crest), areas of acute bruising or swelling, and the front of the neck. The Q2 Mini has enough stall force to do real work on dense muscle, which also means it can cause discomfort quickly on sensitive anatomical structures. Stay on muscle tissue.

Step 4: Follow the Correct Time-Per-Muscle Protocol
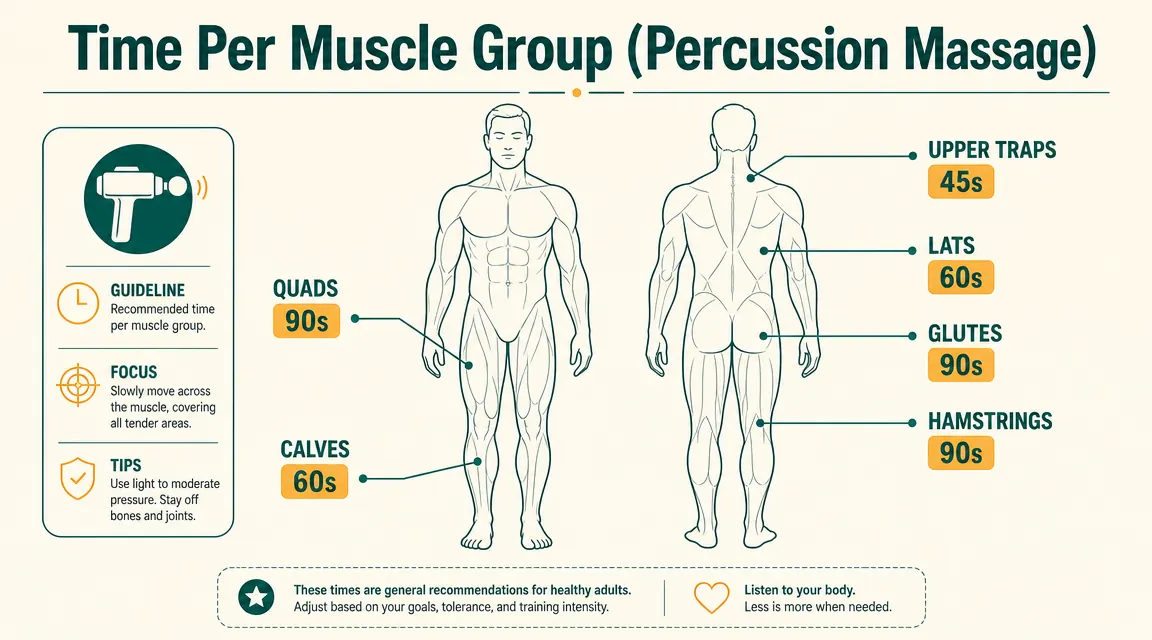
Over-treating a single site is one of the most common mistakes recreational athletes make. More time per muscle does not mean more benefit. The research on percussive therapy and DOMS consistently shows benefit in the 60 to 120 second range per muscle group, with diminishing returns beyond that. Here are evidence-informed working times for the major groups most people are treating.
Quadriceps: 90 seconds total, split across three sweeping zones (inner, mid, outer). Hamstrings: 90 seconds, same zone split. Calves (gastrocnemius + soleus combined): 60 seconds per leg, 30 seconds each. Glutes and piriformis: 90 seconds, ball head, seat yourself so the muscle is relaxed rather than loaded. Upper trapezius and neck base: 45 seconds maximum per side, low speed only. Lats and thoracic erectors: 60 seconds per side, flat head, sweep parallel to the spine rather than perpendicular. Anterior tibialis (shin): 45 seconds, low speed, this area is sensitive and often overlooked in runners with shin tightness.
A full lower-body DOMS session covering quads, hamstrings, calves, and glutes takes approximately 9 to 11 minutes at these working times. You do not need to treat every muscle in every session. Prioritize the groups that trained hardest. If you lifted legs, do quads, hamstrings, and glutes. If you ran, add calves and anterior tibialis.
Step 5: Time Your Sessions Around Training
Pre-workout percussion: 10 to 15 minutes before training, 30 to 45 seconds per muscle group at low speed. This is not a full treatment session. The goal is to increase tissue temperature, reduce passive stiffness, and prime the neuromuscular response. Do not substitute it for a dynamic warm-up. Use it as a supplement to movement-based activation, not a replacement.
Post-workout percussion: within 30 minutes of finishing your session for best results, though there is evidence of benefit up to 60 minutes post-training. Medium speed, ball head on primary movers, 60 to 90 seconds per group. The goal here is to support blood flow and prevent the worst of the acute stiffness that sets in 2 to 4 hours after heavy training.
DOMS percussion: 24 to 48 hours after a hard session, when soreness peaks. Medium to high speed is appropriate here. This is when most people reach for their massage gun and when the protocol has the clearest performance benefit. A 2021 review in the Journal of Sports Science and Medicine found percussive therapy at this window significantly reduced perceived soreness scores versus passive rest controls. Stay within the time-per-muscle numbers above and resist the urge to go longer.
Rest-day maintenance: a 5 to 8 minute full-body pass at low to medium speed, no more than twice per week on top of your training-adjacent sessions. This is optional but useful for people with chronically tight hip flexors, upper traps, or thoracic stiffness that accumulates from desk work between training sessions.
Most people get 20 percent of the benefit because they use 100 percent of the time jamming the bullet head into one spot. The protocol is sweep, not press. Move the tissue, do not fight it.
What Else Helps
Percussion therapy works best as part of a recovery stack, not in isolation. After your massage gun session, 10 to 15 minutes of light movement (walking, easy cycling, yoga-style hip openers) extends the blood flow benefit and helps the tissue stay loose rather than tightening back up. If you are dealing with chronic tightness in a specific area, heat therapy applied after percussion further increases tissue extensibility and is worth adding to your post-session routine. For athletes dealing with systemic soreness from high training volume, magnesium glycinate supplementation is one of the few recovery supplements with consistent evidence behind it. It supports overnight muscle relaxation and reduces nocturnal cramping, which means your percussion work the next morning starts from a less restricted baseline. You can read a detailed breakdown of the BOB AND BRAD Q2 Mini in our long-term review, and if you are deciding between this gun and the Theragun Relief, the full comparison covers stall force, noise, and battery in detail.
You now have the protocol. The only missing piece is a gun that can actually execute it.
The BOB AND BRAD Q2 Mini fits in a jacket pocket, includes all four attachments covered in this guide, and runs 140 minutes on a charge at medium speed. It's the gun built for exactly this kind of consistent, technique-first recovery work. Check today's price and see what's in stock.
Amazon Check Today's Price on Amazon →